On with the show!
Matching notches, pin the waistband sections together.
Take care with this step, check you are leaving the correct side open. The waistband and waistband facings should be reversed.
I unpicked this step so many times.
Sew a basting stitch along the lower edge of the waistband facing at just under the 4/8ths seam allowance.
Fold and press along the stitching line.
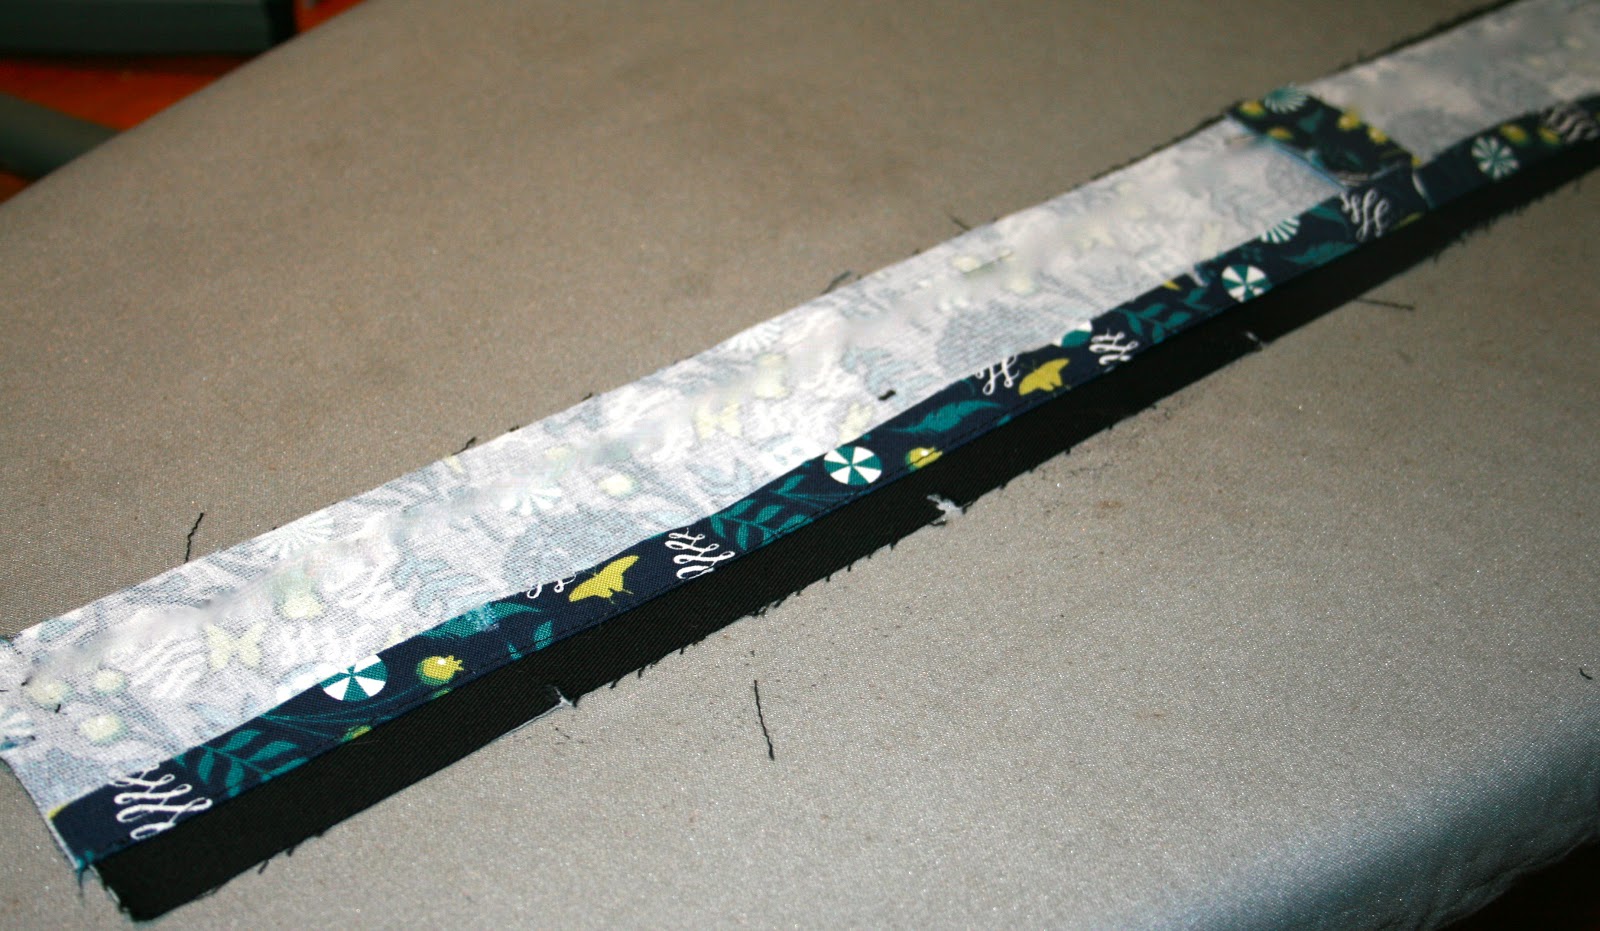
Check the waistbands are even and trim if necessary.
Matching side seams and notches, pin the right side of the outer waistband to the right side of the trousers waist.
Sew, press and trim the waistband.
Press the seam towards the waistband.
Pin the waistband facing to the waistband, matching seams.
Ignore the extra stitching on the waistband facing, my blooper!
Trim the seams.
Press the seam towards the waistband.
Flip and press again.
Chose a zipper-shorten if necessary.
Sew back and forth to secure the teeth and zigzag over the raw edge.
Open the zipper and press the teeth open as per instructions.
Use a medium heat and keep the iron moving.
Pin the right side of the zipper to the right side of the edge of the front leg.
Following the directions, fold over the top the of zipper to the inside.
I like to mark the zipper with tailors chalk to keep it even.
Pin and sew in place.
I quite like basting the zipper in place.
Pin, baste and sew the other zipper half in place.
Fold the zipper back and continue that up to the waistband, then press.
Repeat with the other side.
Zip up the zipper.
Fold the lining to the inside, with the pre-folded edge tucked underneath. Pin in place.
Keep pinning, matching the side seams.
Starting after the zipper, topstitch the waistband in place.
Press well.
It gives a lovely clean finish.
Charlotte gives you clear instructions on how to adjust the centre back seam for a perfect fit.
To allow some ease and enhance hand-me-downness I add elastic to the back waistband.
Carefully unpick the waistband facing side seam just enough to allow elastic to fit through the opening.
Thread the elastic with a nappy pin.
Catch the end of the elastic with a pin and then sew in place.
Poke the short edge of the elastic into the front waistband casing.
Hand sew the opening together.
Pull the elastic through with the pin.
Check the fit before securing the end of the elastic to the trousers.
Stitch the elastic in place.
I like to hand sew the facing to the zipper.
Stitch a turning guide along the hem of the trousers.
Fold and press.
This hem can be a bit thick but a few whacks from a clean hammer will sort 'em.
Fold the hem again by an inch, tucking the first fold to the inside.
Pin in place and sew.
After pressing, mark the button positions.
And sew the buttons in place!
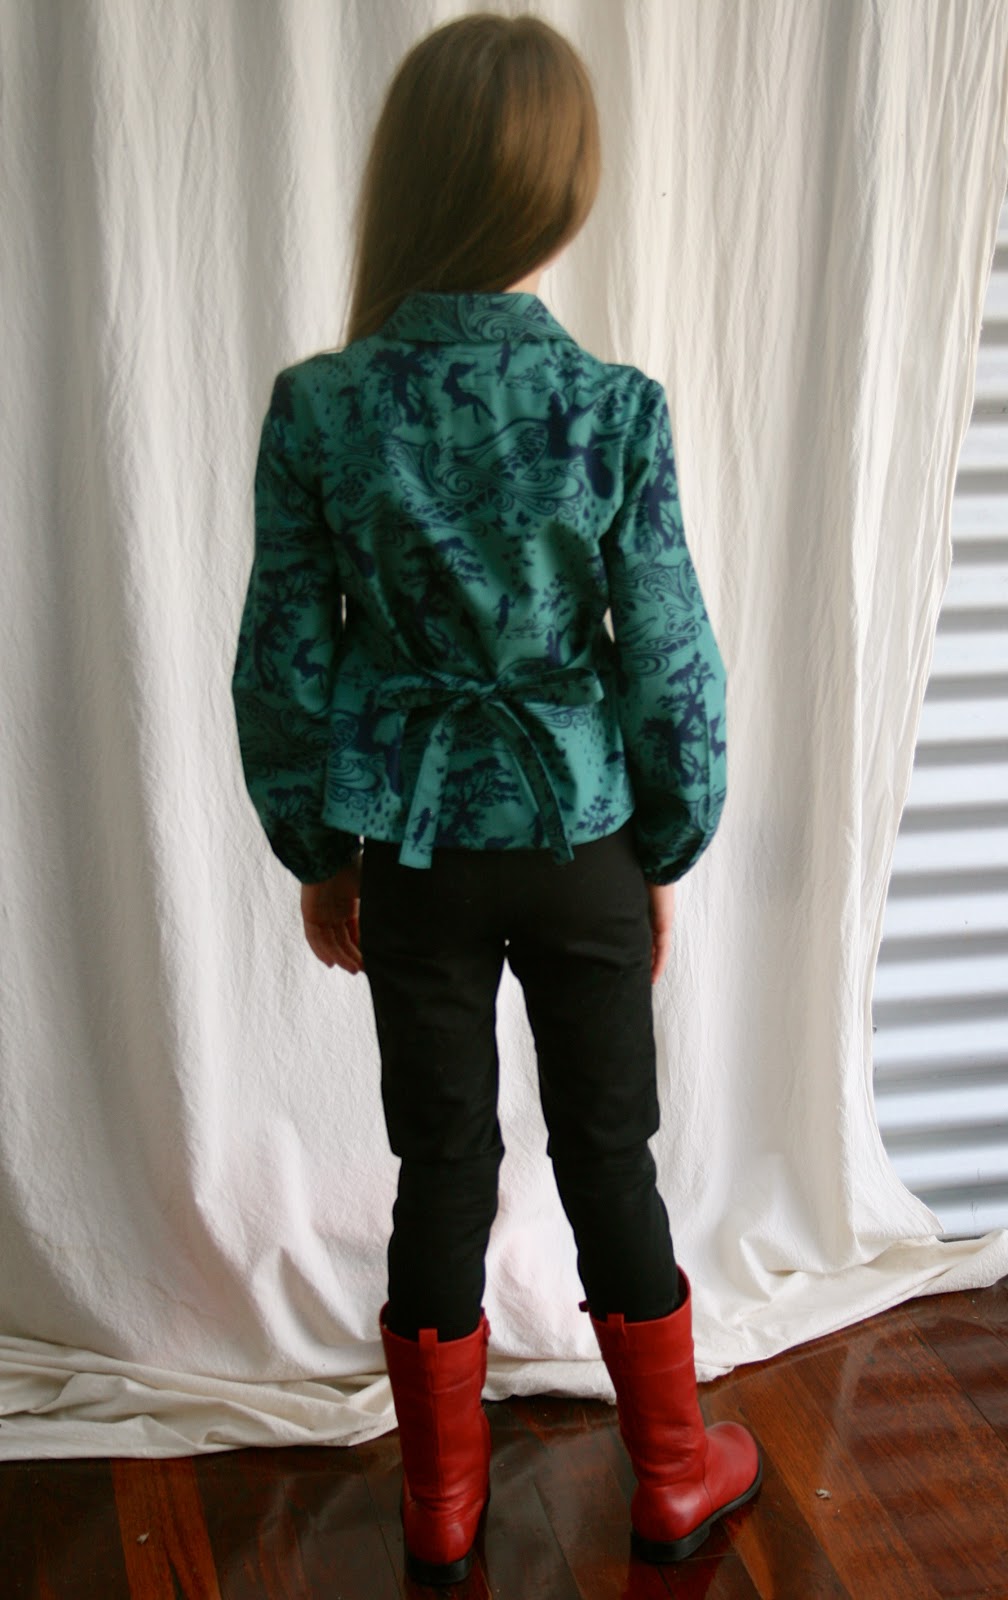
One seriously snappy slim pair of pants!
Stunning silhouette.
And those gorgeous buttons.....
xx N
It can be quite hard to find a neat trouser/slacks/pants pattern for girls,especially skinny girls.
I think these fit the bill.
They are the Peridot pants by Clever Charlotte.
I made them last year for Lidia.
So sweet!
So elegant.
I really want to show you these as I think they are pretty quick to make once you know what you are doing!
And,as I was making Lid's a much desired black pair I decided to take a few(well 72 actually)pictures.
Its a long one so I may split it in two.
The tutorial not the trousers...oh dear,oh dear,oh dear.
I made Liddy a pair in size 5 width and a size 7 length.
Before you start pre-neaten the leg seams of the pants pieces.
Apply interfacing to to one side of the waistband pieces.
If you choose to use a lighter contrast fabric for the lining you may wish to interface both the front and lining waistband pieces.
Cut the two lengths of elastic loop tape.
Six loops are required on each piece.
Fold the front tabs in half lengthwise.
Neaten the edges.
Pin the front tab to the front leg matching the edge of the tab to the notch.
The tab will finish perfectly with the hem of the trousers.
Sew in place and then clip to the sewn seam above the front tab.
At the notch.
Press the seam allowances back towards the trouser leg.
Flip the leg over and roll the seam under your fingers to smooth it and the press well.
Rinse and repeat!
Following the pattern instructions measure and mark the placement for the elastic loop tape on the right side of the back leg.
You should have six loops.
Mark the stitching line and pin the loop tape in place.
Baste in place.
The loop tape can slip a little,hold it down if you need to and stitch slowly.
Press well from the wrong side.
Neaten the edges of the back tab.
Pin the back tab to the back leg, right sides together.
The loop tape will be sandwiched between the two.
The back tab will match the notch of the back leg.
Stitch in place and clip at the notch to the stitching line.
Fold the back tab to the inside wrong side together and roll the seam under your fingers.
Finger press and then iron well.
Avoid touching the elastic loops with the iron.
Following the instructions pin the right outer leg together from the zipper notch to the tab notches.
Sew and press the seam open.
Position the tabs, tucking the front tab underneath the back tab.
Check this from the right side.
I was worried there may be a strength issue here.
I decided to fuse a neat rectangle of interfacing over the seams.
Flip the trouser leg over to the right side and following the instructions, mark the stitching lines and pin the back flap over the front flap.
Stitching through both layers sew to the point marked by the pin.
Open the flaps and pull the front flap away from the back flap.
Topstitch the outer back leg to the back flap.
(Catching it underneath).
Press well.
I chose to mark this spot.
And sew a bartack, these are to be play clothes and I wanted them sturdy!
The interfacing keeps things neat and offers a little extra strength.
Repeat with the other leg but this time from the waistband to the tab opening.
Pin and sew the inside leg.
Press the seams, turn and press again.
Put one leg inside the other, right sides together.
Pin the crotch seam, matching notches.
Sew the seam.
I like to reverse over the centre seam a few times and then stitch a second row of stitching close to the first.
Press the seam and clip the curves.
Neaten the seam.
If you overlock over the notches they will be finished but still give ease.
Press the seams to one side.
Take the opportunity to press this seam really well.
The end of the ironing board is very useful.
That will do for now!
Back soon with part two.