The new oliver+s patterns will soon be available. I thought that would be a great incentive to finish up a few promised projects.
With a basket of Bedtime Story(by oliver+s,now sadly discontinued) pajama's waiting to be sewn(one pair a Christmas gift)it was time to ask myself why I had not finished them yet.
I love these pj's,they are so cute but I always struggle with the neck!
I did work it out and blog my method
here and it works well but is just a bit
fiddly.
To add to the incentive,Lidia has been very ill and her hand-me-down nighties were looking the worst for wear after being washed and worn several times a day.
Time to sew these pj's!
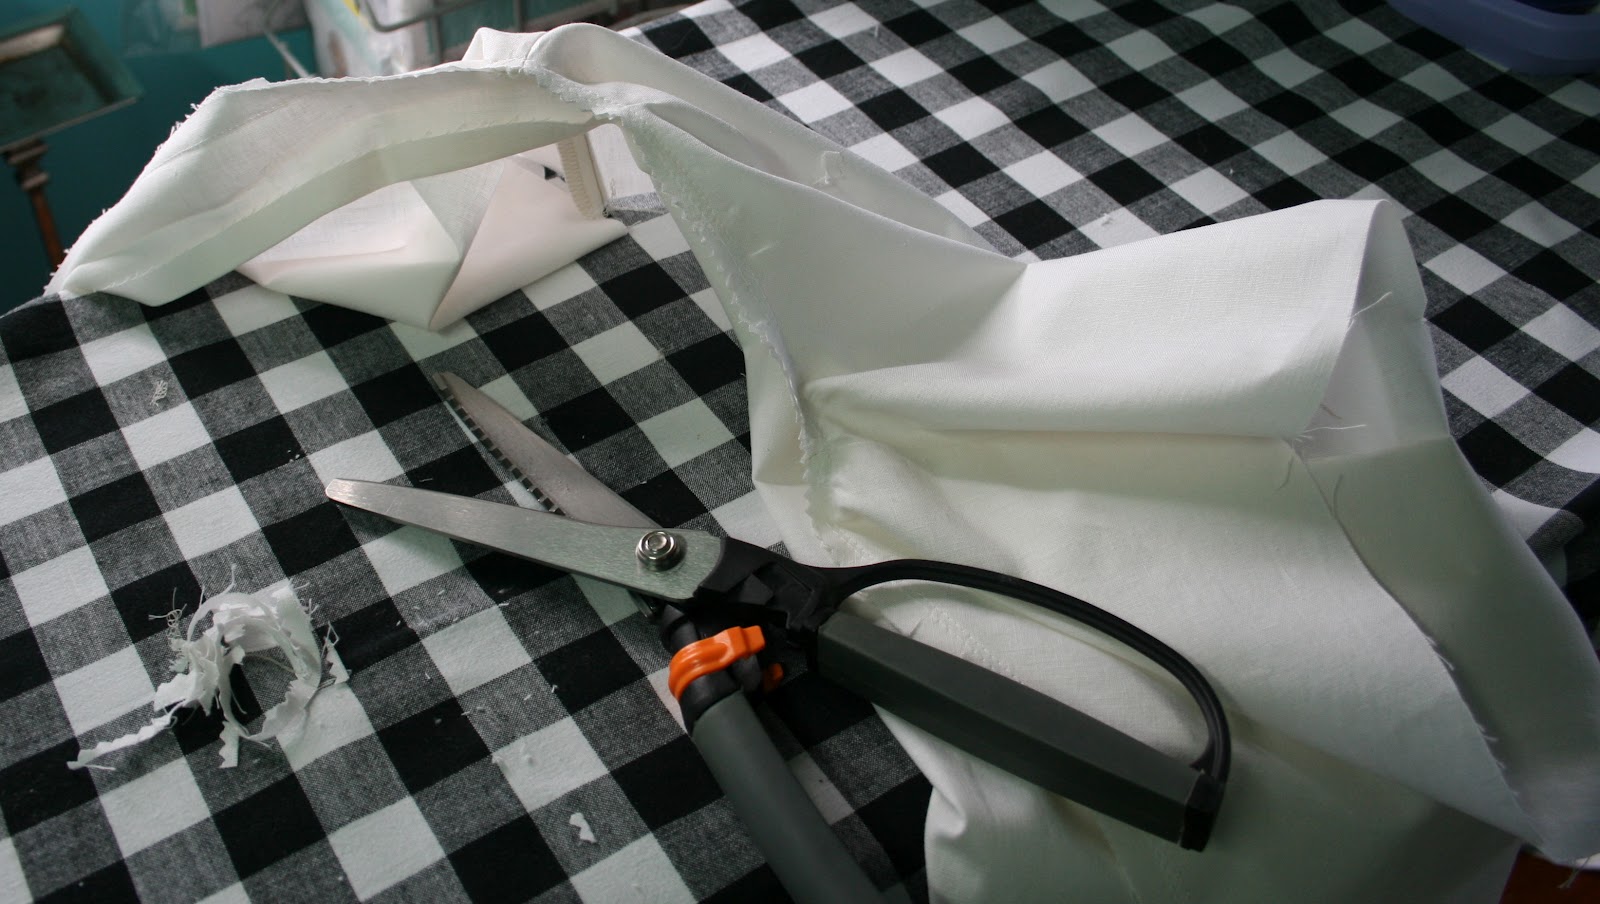
I had a cotton/linen blouse cut out for Lid's so I decided to use that for trial and error purposes.
If it didn't work-noone would ever know....
Here we go possums!
Stay stitch the back neck and the fronts as directed in the pattern.
Don't be tempted to miss this step you will need this stitching!
Fold and press the lower side of the front panel.
Fold and press to the first fold line.
Press and pin it place.
Sew and press again.
Now we get a bit naughty.
Pin the fronts to the back and sew together-
DON'T stop at the dot!
Press the seam towards the front.
Pop the top to one side while working on the neck band.
Press the neck band in half.
Press in the seam allowance on each edge.
Give the neck band a good steamy press and put it to one side to cool.
Clip into the seam allowance up to but not through the stay stitching.
Starting at the centre back,pin the
RIGHT SIDE of the neck binding to the
WRONG SIDE of the top.
Pin the neck band to the top taking care to straighten the top as you pin.
Check underneath to keep thing smooth.
I decided to stitch the neck curve from the wrong side so that I could jiggle it to avoid tucks.
I sewed slowly and lifted the foot as needed to ease any lumps and bumps.
Check for tucks after sewing.
Carefully trim the neck seam,I like to use my pinking shears(Cheers Millie)!
I didn't trim the front seam allowance as I felt it would give the edge some body.
Consider re-pressing the neck edge to re-inforce the fold lines.
Prepare the side ties.
I used webbing for the inside ties,which I finished with a double fold and top stitched,and satin ribbon for the outside bow,which I finished with a hot knife to prevent fraying.
Open up the folded neck edge.
Place the tie as above.
Wrap the neck edge back over itself catching the tie.
Stitch along the edge sewing the tie inside the casing.
I find it helpful to mark the stitching line.
If you choose a wider ribbon you may need to fold it a little to get it to fit.
Sew the seam.
I like to leave a little longer seam allowance then recommended.
A collar point is useful to get a nice turn.
I then fold the seam allowance up into the binding,trimming the allowance if I need to.
It needs to be quite smooth.
Its not perfect but at least there are not fraying bits poking out.
If you give it a tap with a hammer it will flatten down nicely.
This would be the perfect time to add some trim. I had some pieces of vintage lace that I had been wanting to use.
Starting at the centre back I pinned the lace just under the edge.
Sew the edge catching the lace underneath.
I sewed both edges of the neck binding to keep it firm and make it less 'pajamary'.
I had
just enough lace!
Pardon my language but how arsey was that?
Pre-fold and press the hem allowance on the sleeve pieces.
Admire the view.
Pin the sleeves in place matching notches.
Stitch and press the seam out.
Fold and pin the side seams matching the notches.
I find it helps to mark the sewing line and pre-clip to it.
Sew the seam,carefully straightening it and slightly curving at the underarm.
The easing 'clip' is covered by the overlocking stitch.(Zig zag will work just as well)!
Turn and press well.
Refold and press the sleeve hem.
Fold and press a double hem.
Hem the hems and...
press well!
Making Easter cards.
Mark the position of the other ties.
I prefer to sew the tie to the seam allowance if I can.
To sew a wider ribbon you may need to fold and tuck it to a neat finish.
A blouse in an hour!
Very 'unpajamary'
Very pretty with this seasons signature-lace.
Pretty,pretty,pretty.
And those two left over pieces?
I'm thinking tweedy wool,fully lined with lace around the front panel....
Watcha thunk?
x N